
I posted last week about the first version of this dress that I made for my cousin (see here). This is the other Texas themed one that completes the set!

The stars at night are big and bright
Deep in the heart of Texas!


 I love Marimekko fabric. It's funky, bright and a nice weight so I decided to make a reusable grocery bag for my sister. Really, the intent is actually for it to be a farm share bag because it's easy to wash! The bag has french seams, folds up small and is bound with homemade bias tape.
 I had some leftover home dec fabric from Ikea so I made some quick and easy bags just for fun. The nerd in me likes to travel organized!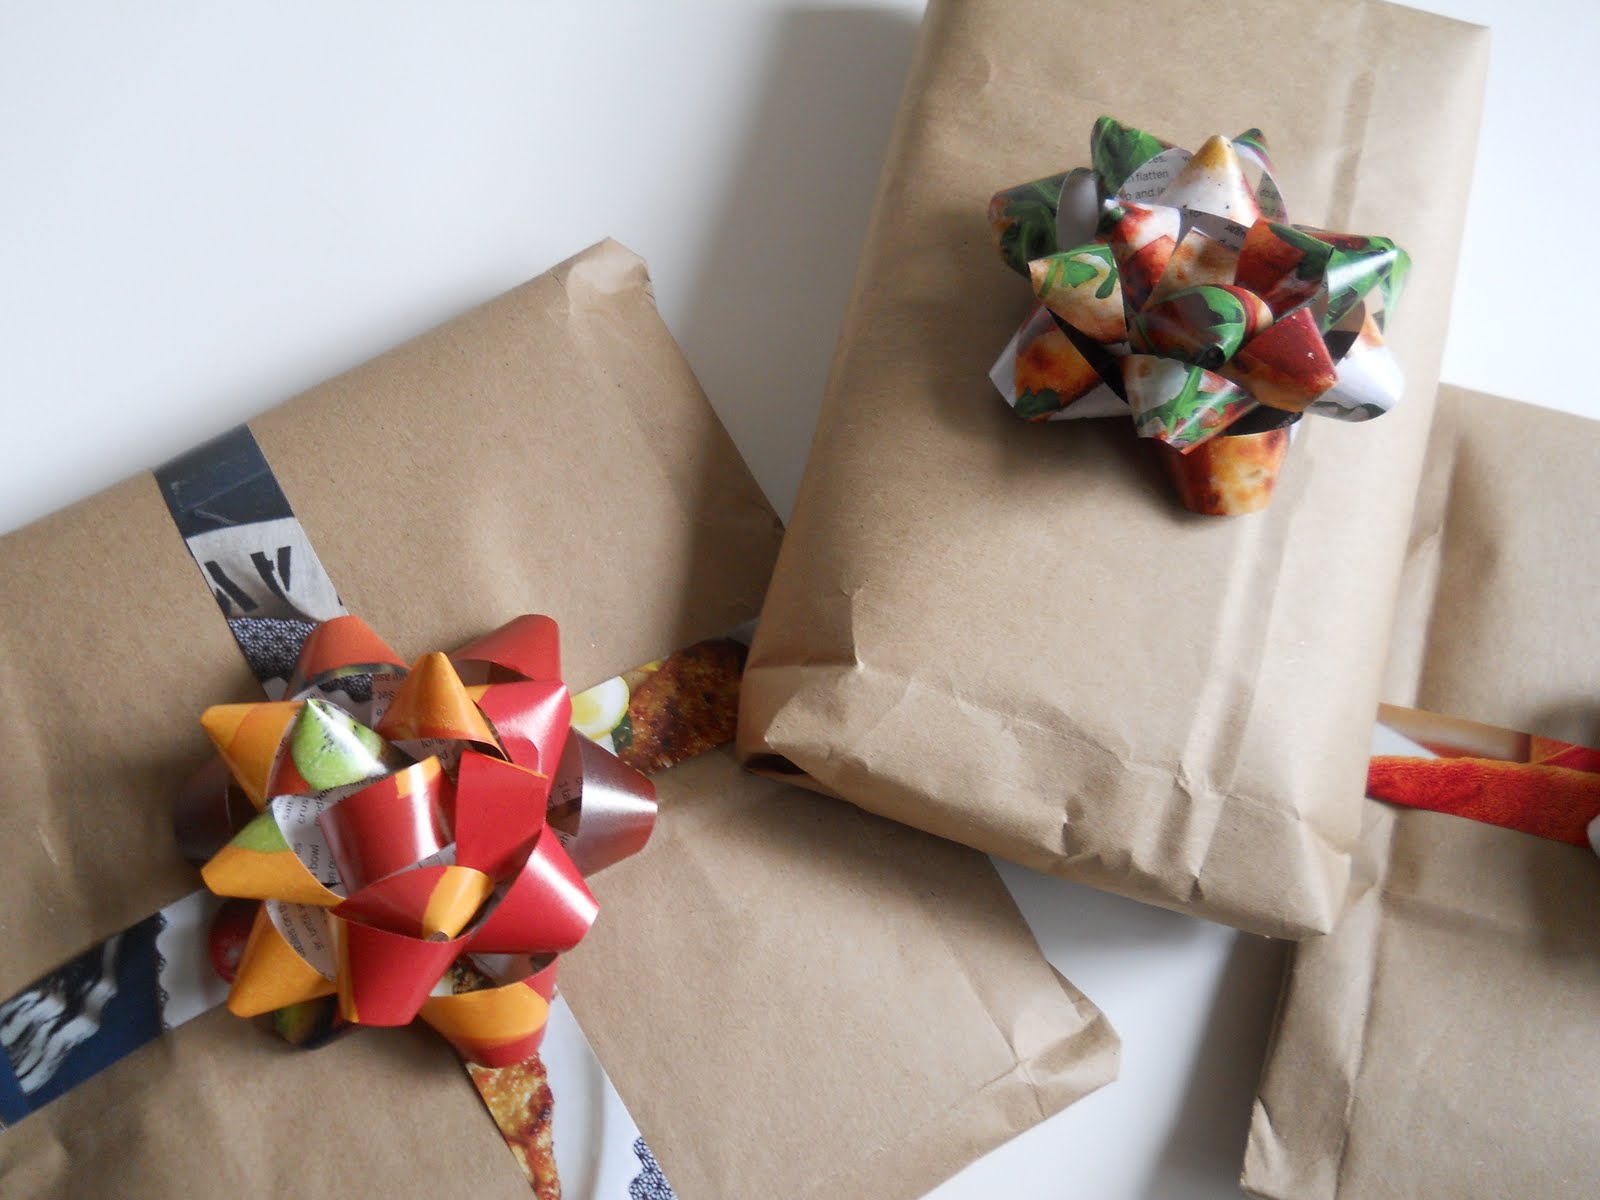

 I don't stash wrapping paper or bows in my house because extra storage space is in high demand in my apartment. As a result, I try to go a bit green by using things like paper bags and newspaper, etc. A while ago I ran across this awesome bow tutorial that uses a single magazine page to create the bow. I decided to use it for my sister's birthday presents this year and I LOVE how they turned out. I only have food magazines so everything is made of pictures of arugula pizza or kiwi or bacon which makes me smile. If you have a big pile of old magazines lying around, I highly recommend this tutorial as an easy way to make the most of them!
 I came across the pattern and tutorial (it's free!) for this purse from the blog "Prudent Baby" which you can get here. It's a great beginner project and it finishes quickly. I just used some scraps that I had lying around and I made the bias tape which I love doing. I plan on making a few more of these for the summer because I like to have a lot of random bags lying around to change things up. Plus it's a good project to get some scraps used up.
 Here is a zippered pouch I made last week. I used scraps from my stash, and a zipper and lace from Grandma's awesome thrift store. I used french seams so that no raw edges are showing. I haven't had much sewing time lately, as I have been working on getting my garden up and running. I am, however, working on a quilt for my oldest son, and it is coming along nicely. I'll post pictures soon of the progress.


 Here are some funky potholders I made for my momma :) I really like the red, white and blue one!


 I've had this linen dress in my closet for years but it was a strange length. It fell a couple of inches above my ankles and it made my short legs look even shorter which was no good. Anyway, I loved LOVED the detail of the fabric and wanted to utilize it somehow. So, I chopped it in half, hemmed the top and added elastic to make a skirt. Now don't judge me and the elastic because I tried various pleats and any other detail just added too much superfluous texture...plus, elastic was just easier and gets hidden by whatever top I wear with it!

 I found this paisley dress stashed in my packed up summer clothes. I wasn't thrilled with the fit as a dress anymore so I chopped several inches from the bottom and finished it off with a rolled hem (which makes me feel smug). Now it looks really cute as a light summer tank top! As a bonus, the seams were already serged so it looks like I actually bought it this way :)


